
Technical guide
Last updated
Setting up the Figma plugin
Search the library and place pictures, alt text included, without leaving your Figma file. About five minutes from install to your first picture.
- A Figma account and a design file you can edit. The plugin works in the Figma desktop app and in the browser.
- Searching, previewing and inserting PNGs are free, with no sign-up.
- SVGs, components and adding the whole collection ask you to sign up once, with your name and email.
Step 1: Find it in the Figma Community
Open the plugin's Community page (opens in a new tab) (opens in a new tab) and choose Open in…, then the file you want to work in. It is listed as Inclusive Icons & Illustrations by See Me Please.
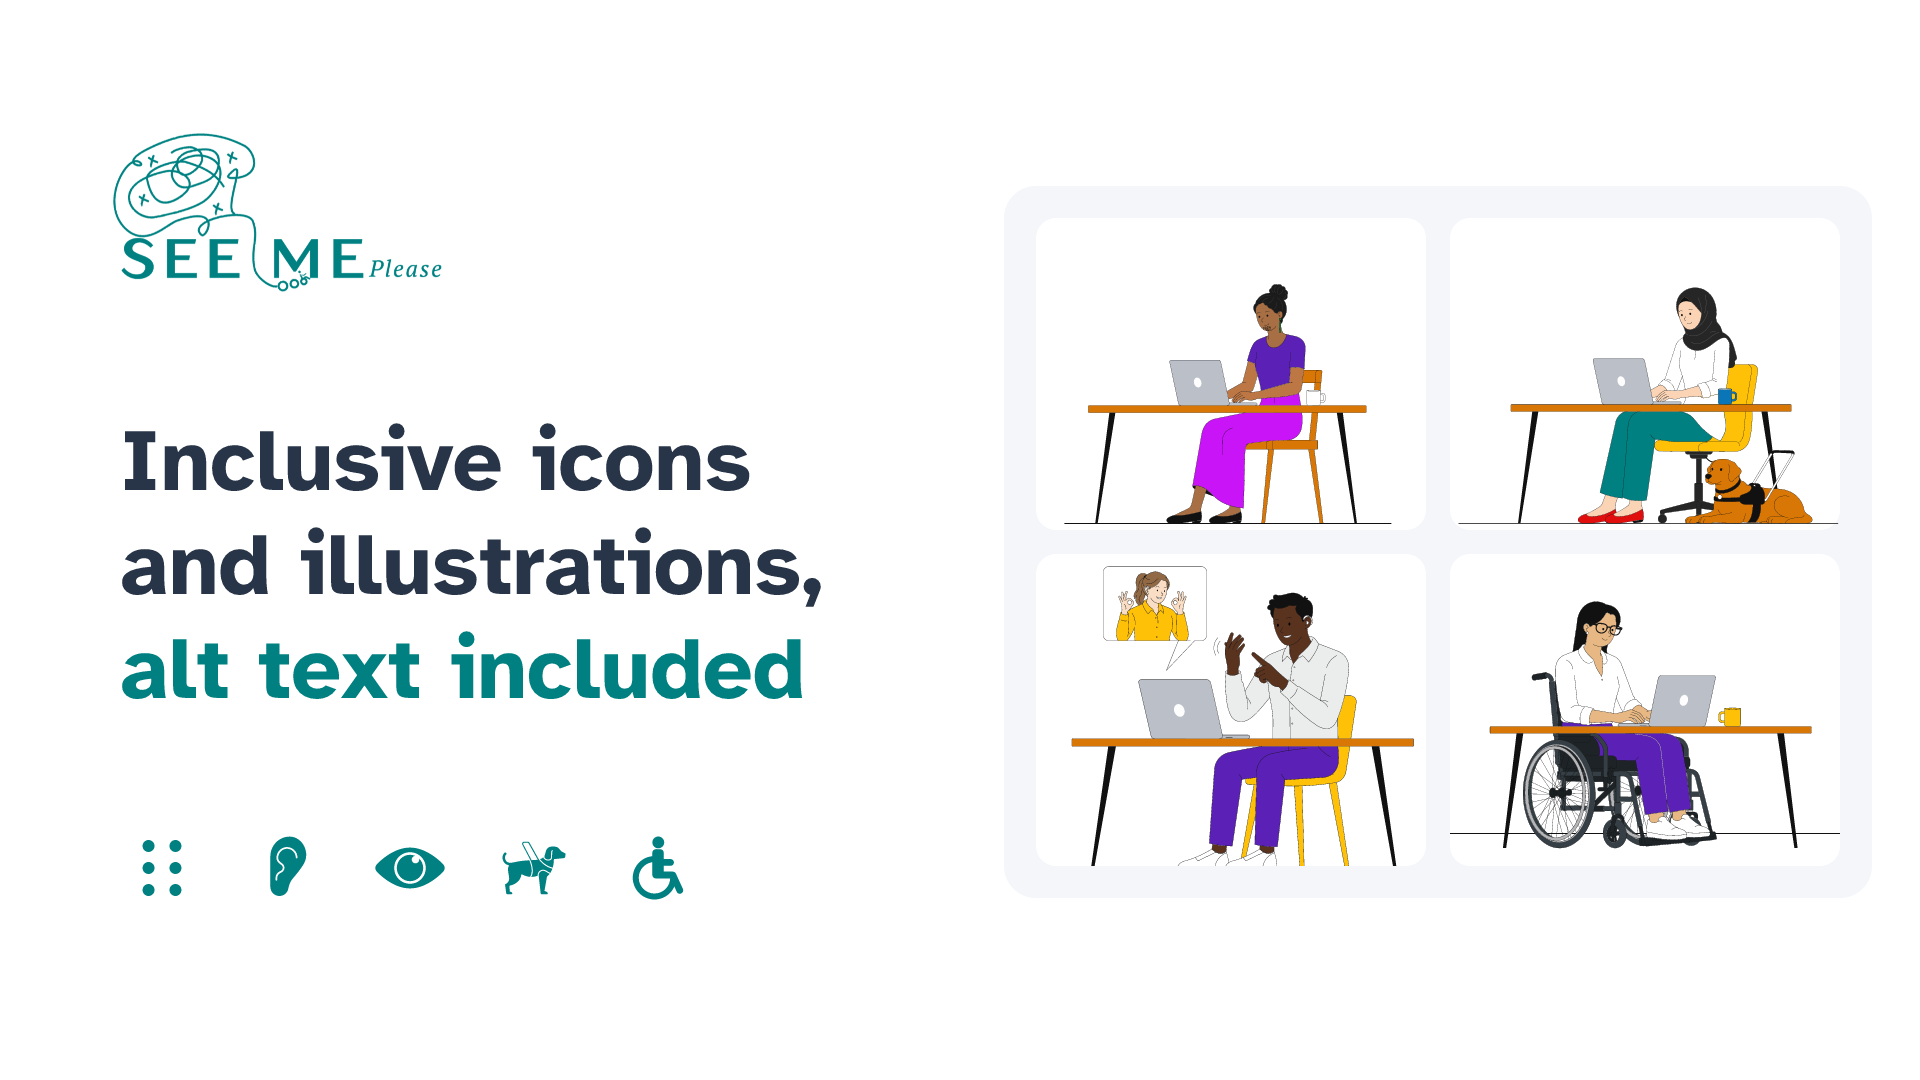
The cover you will see on the Community page. Step 2: Run it in your file
In a design file, open Actions (
Ctrl+K, or⌘+Kon a Mac), choose Plugins & widgets, and search for Inclusive Icons. The window opens on the six collections.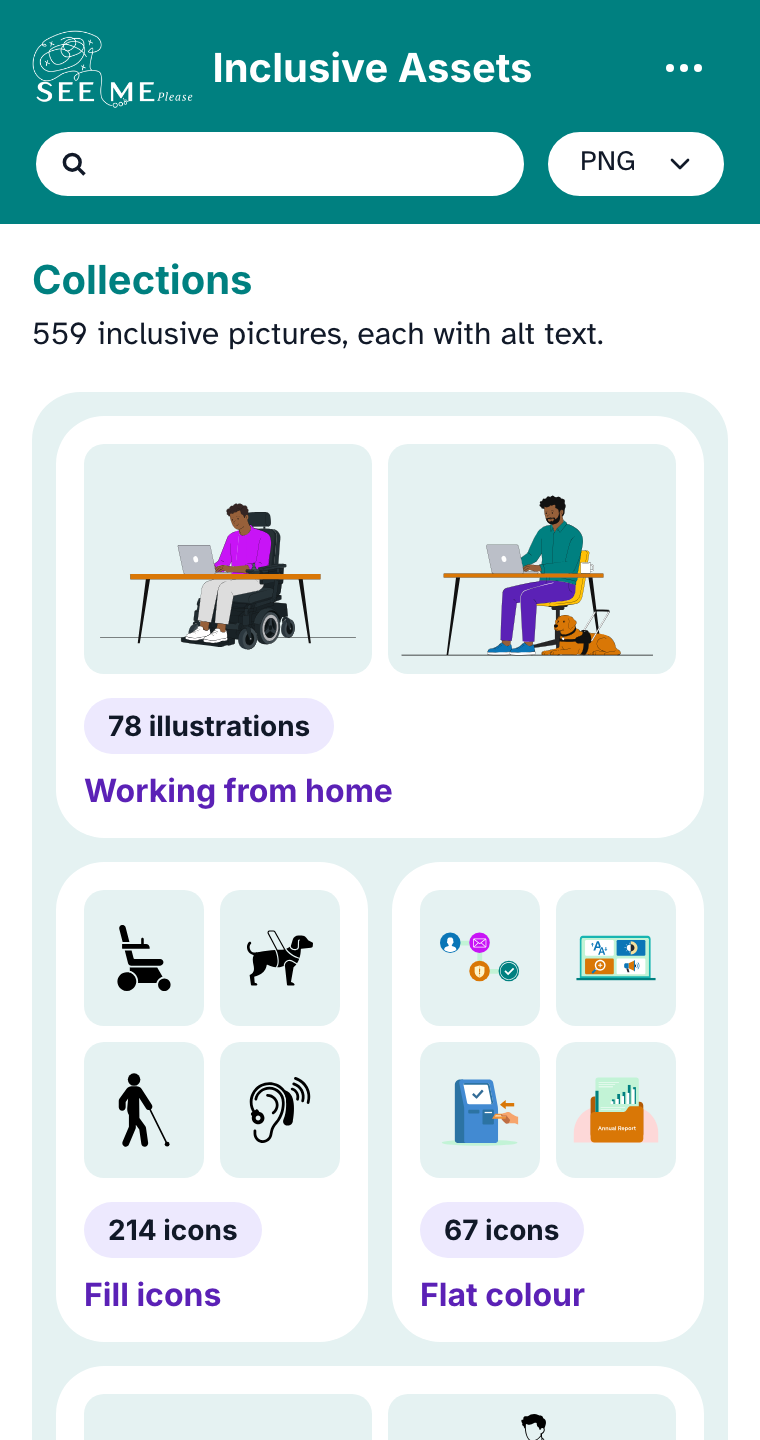
The plugin opens on its collections.
Step 3: Search by what it shows
Type what you need, for example
wheelchair. Results come from every collection, grouped by collection. Or open a collection card to browse it. Hover or focus a picture to read its alt text at the bottom of the window.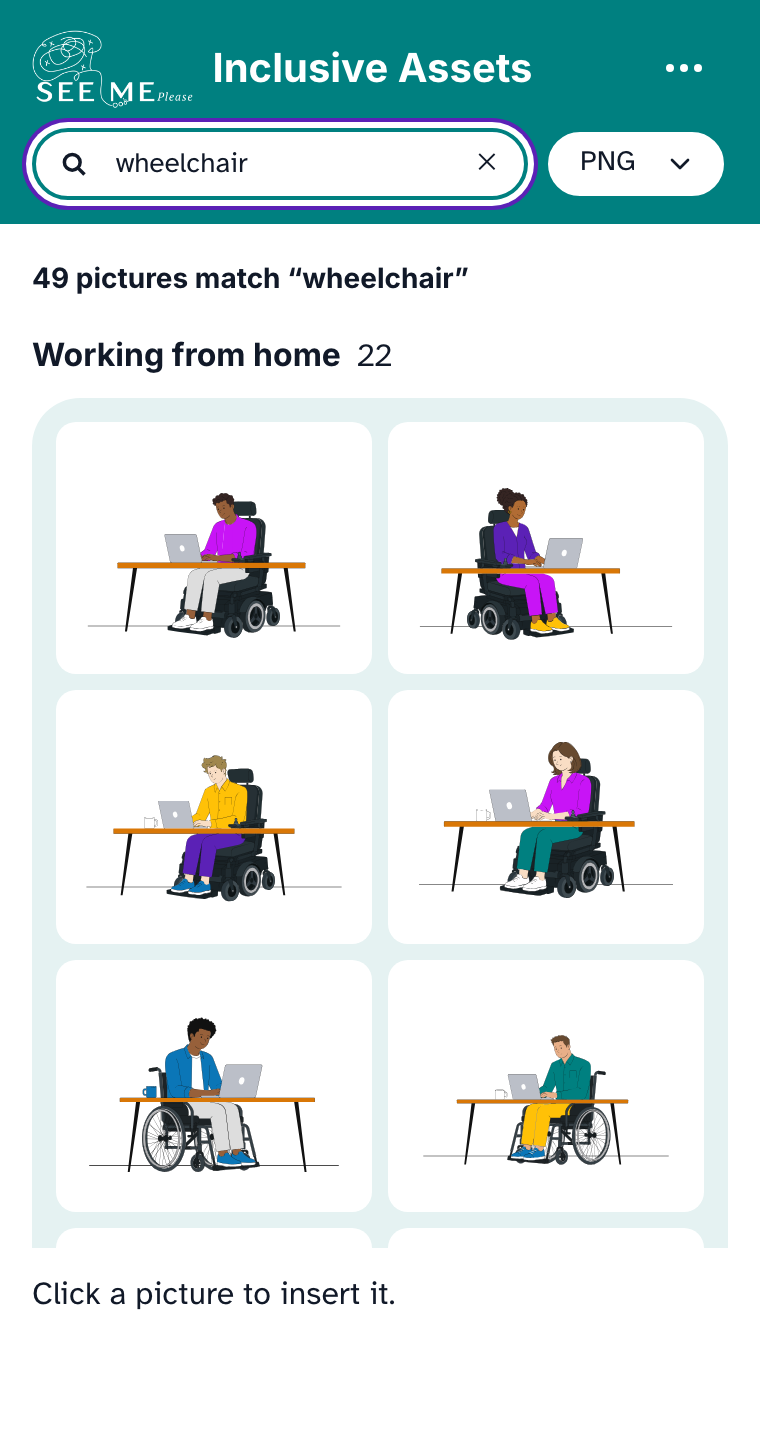
Search results, grouped by collection. Step 4: Click to insert
Click a picture, press Enter on it, or drag it onto the canvas. With PNG chosen it is added straight away, no sign-up needed. It lands between 256 and 1024 pixels on its longest side.
The layer name carries the alt text, with the picture's name in brackets, so anyone who opens the file can read it.
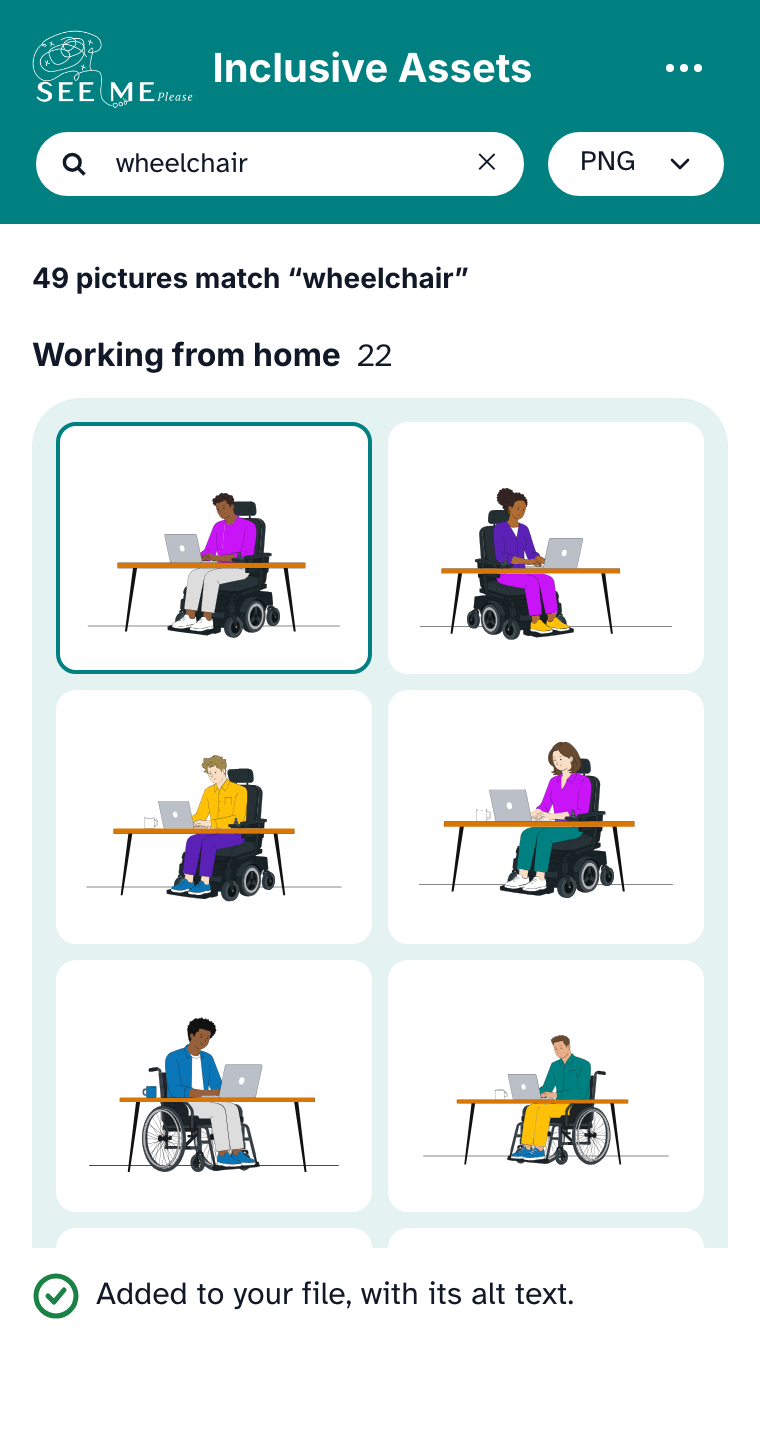
Added, with its alt text as the layer name.
The first time you choose SVG, make a component or add the whole collection, the plugin asks you to sign up. You only do this once on each computer.
Step 5: Choose SVG
Change the format list from PNG to SVG. The sign-up opens.
- First name, last name and email are required.
- Company and role are optional.
- The box for news is optional and starts unticked. You can sign up without it, and then we do not send you marketing.
Read the plugin privacy policy (opens in a new tab) (opens in a new tab) for what we keep and why.
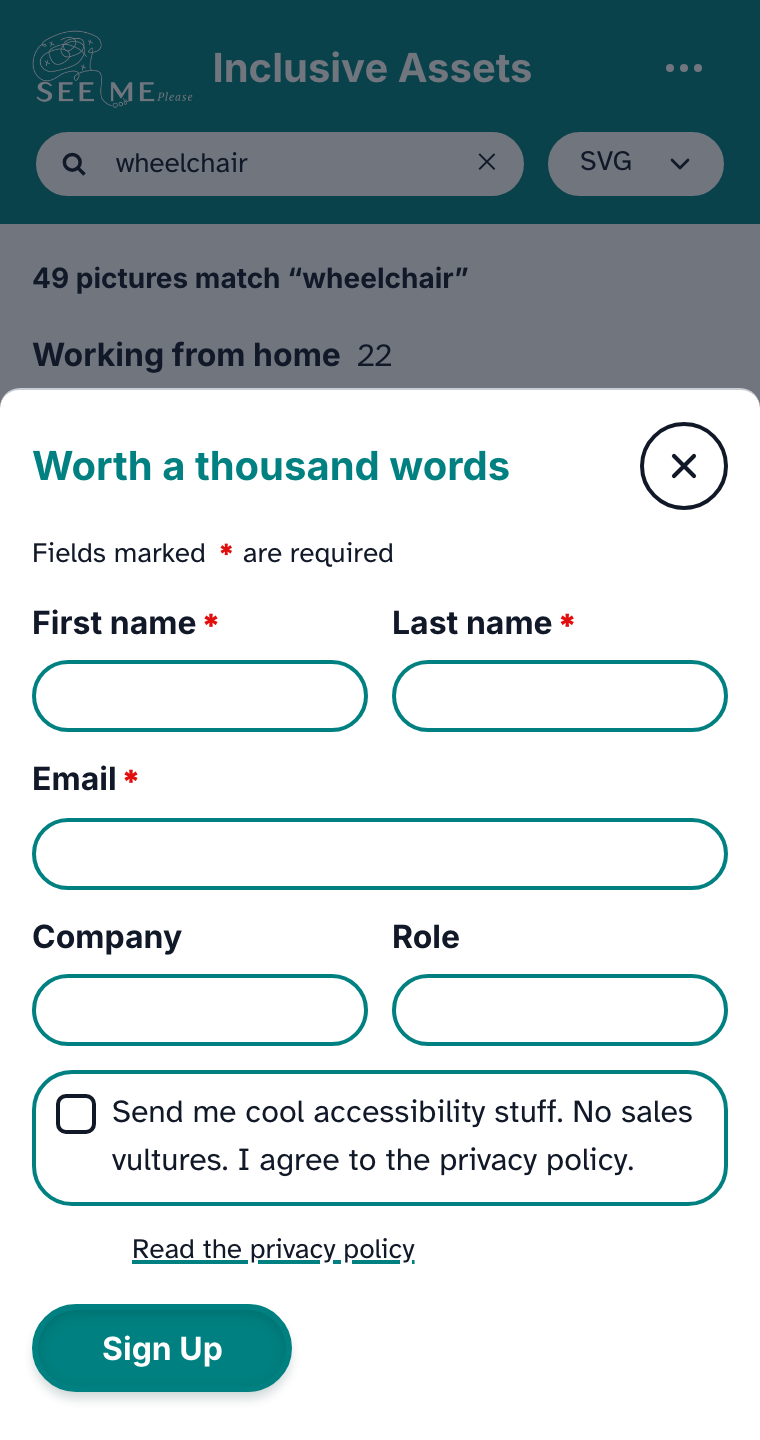
The sign-up. Only three fields are required. Step 6: Sign up
Choose Sign Up. SVG is now selected and stays available. Figma remembers only that you signed up, on this computer. It never stores your name or email.
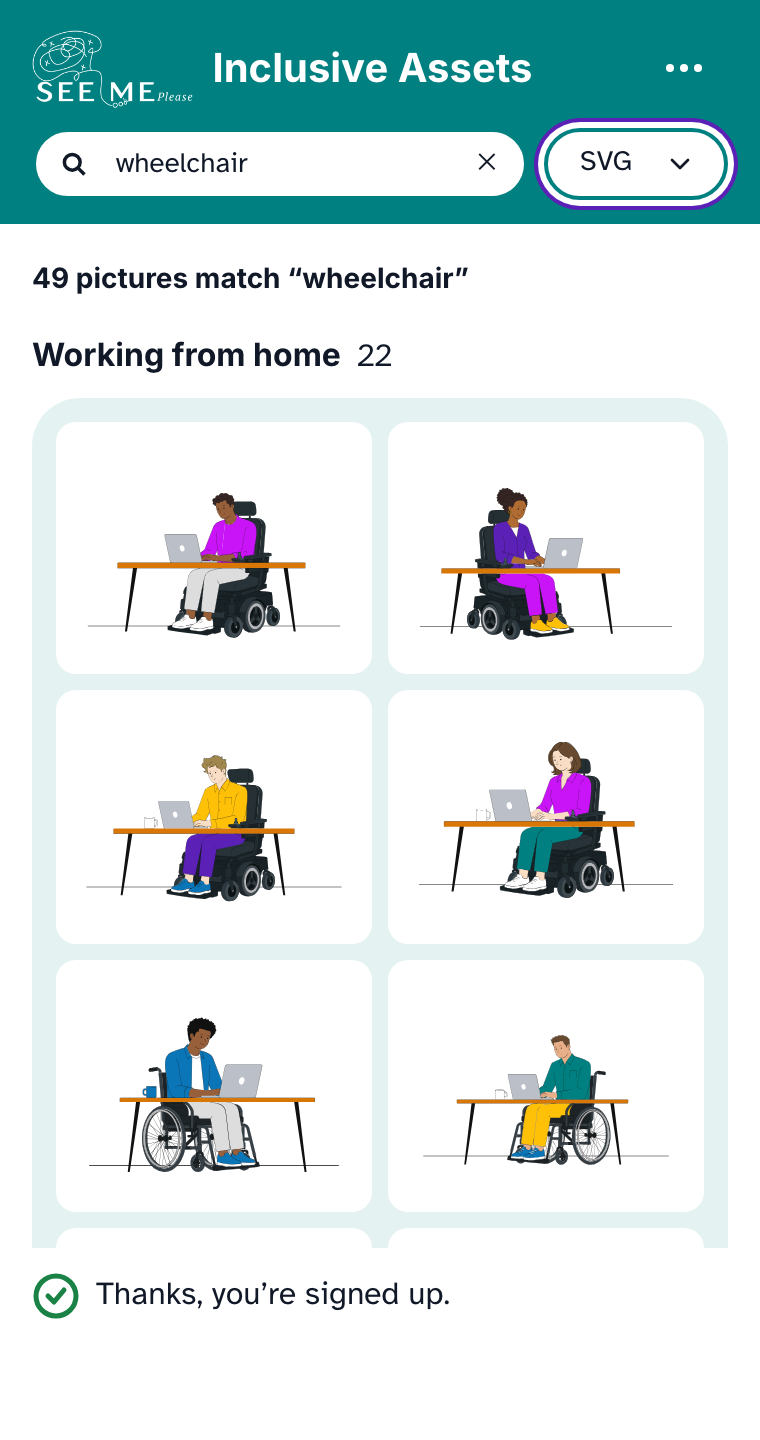
Signed up. SVG is selected.
Step 7: Make one picture a component
Select a picture you added with the plugin, open the More menu (the three dots), and choose Make component. It appears in this file's Assets panel.
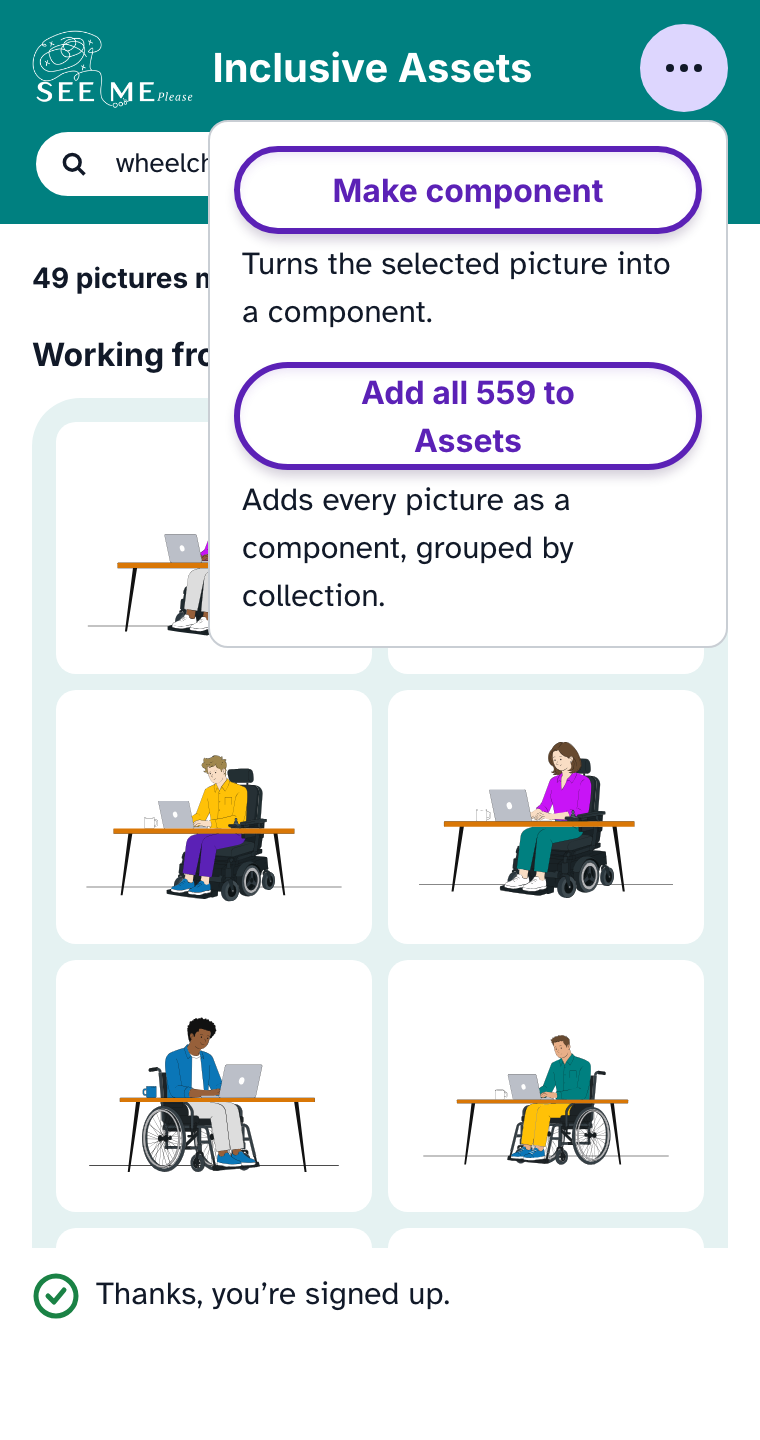
The More menu. Step 8: Or add the whole collection
Choose Add all to Assets. Every picture becomes a component on one page, See Me Please Inclusive Assets, in a section per collection. Keep the window open until it finishes: closing it stops the run.
Running it again only adds what is missing. Nothing is duplicated.
- Pictures do not load: your network must allow
https://assets.seemeplease.com, andhttps://api.hsforms.comfor the sign-up. - "Select a picture you added with this plugin": Make component only works on a picture the plugin placed. Select it on the canvas and try again.
- Figma’s free Starter plan allows 3 pages in a file. If they are all used, Add all puts the pictures on the current page and says so.
- "Sign-up did not go through": check your connection and try again. Your details are not saved until it works.